Hello! Thanks for visiting my blog.

I am on a blogging hiatus as I would like to focus on my jewelry craft work. Hence, I will not be taking in requests for reviews of any nature in the future. If you do have queries on my jewelry work instead, please get in touch via email : oon.adeline@gmail.com

Tuesday, July 15, 2014

[RECIPE] Kimchi and Prawn Pancakes - Pajeon


Back in 2009, when we visited the land of kimchi (Korea), we didn't get a chance to try many types of food they have to offer as we went with a tour group. Almost all our meals were covered - hotpots, barbeque or bibimbap. We didn't get a chance to snack on street food etc. And the one time when a meal was not included, the kids insisted on having fast food. Oh well. We had to give in as Korean food was not their cup of tea. 

So finally earlier this year, I was introduced to pajeon, and I fell madly in love with it. And as with one who likes to experiment with cooking, I had to give this a go in my kitchen. More so, right after I saw a very basic recipe pasted along the window at a Korean mini mart at Square2, which I visited a couple of weeks ago. This is my adaptation.

Preparation time : 10 minutes  Cooking time : 10 minutes  Serves : 4

Ingredients :
- half a rice bowl portion of kimchi, without the liquid (store bought)
- 12 to 15 pieces of prawns, de-shelled (or more if you like)
- 1/2 cup frozen corn kennels
- 1 small sized onion, sliced
- a few sprigs of springs onions, sliced to preferred length (I like this, so I added more)
- Oil for pan frying

Batter :
- 1 cup all purpose flour
- 1 egg
- 1 cup milk
- salt and pepper to taste

Dipping sauce (mixed well) :
- 1 tsp black vinegar
- 1 tbsp light soya sauce
- 2 tsp sugar

Method :
- Prepare the batter and add in the ingredients altogether. Mix it well. Consistency of the batter should be very slightly runny.
- Use medium heat with 1 1/2 tbsp of cooking oil.
- I've used the batter all at one go into my 9" frying pan.
- Once the edges are cooked and the centre begins to bubble, flip the pancake over. It takes about 5-6 minutes on one side.
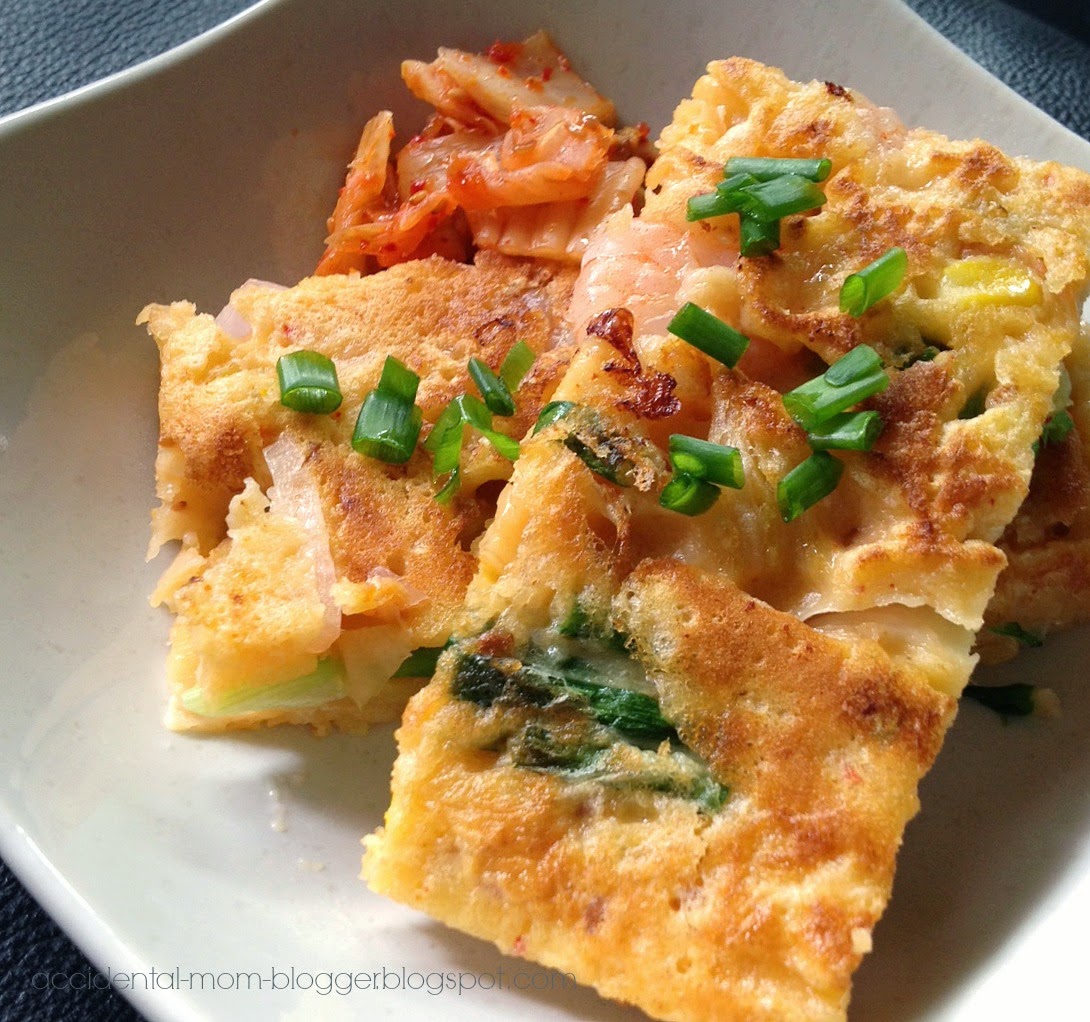

I like mine served with kimchi on the side. It's just amazingly appetizing! You can also add squids or clams in your pancake for different textures in your bite! Minced meat is also another option to try.

Enjoy!
 
Till the next post, have a blessed week!

Wednesday, July 2, 2014

[RECIPE] Durian Puffs

 
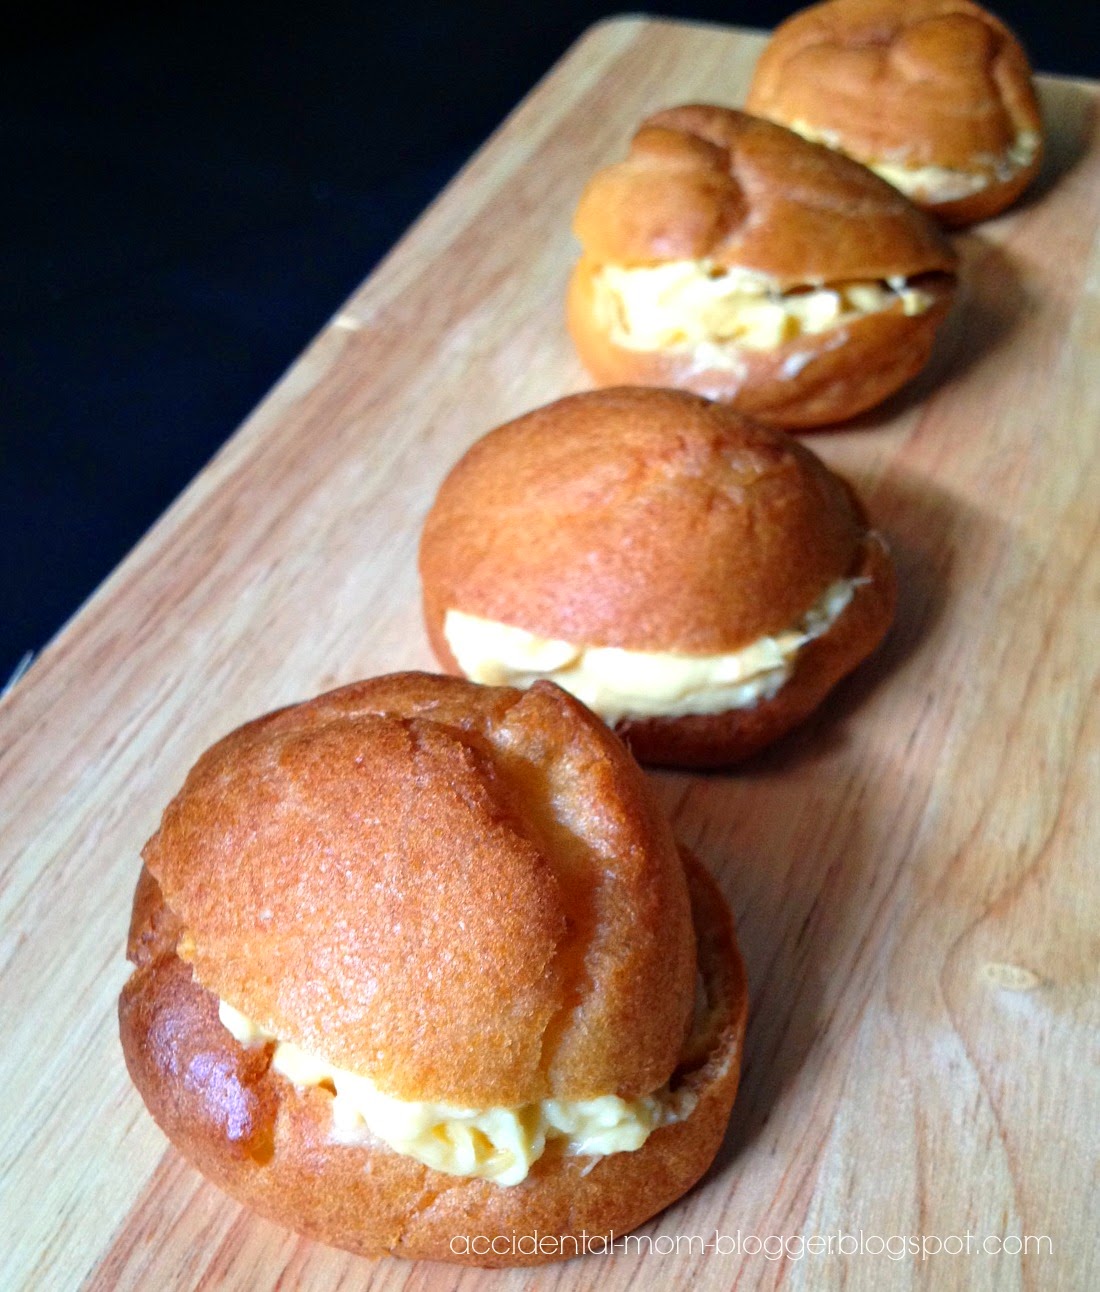
Never in my wildest dream, there will be a day I attempt to make choux pastry for durian puffs. It isn't that difficult actually. Maybe just a little lehcheh (time consuming) to bake the choux pastry. But it sure is very worth it and the sense of satisfaction with thumbs up from the family and a neighbor who have been my faithful "guinea pig", whenever I try a new bake.


Here's a fail proof recipe, adapted from Kenneth of Guai Shu Shu

Preparation for durian filling (to be done first and chilled)


- Use good quality durian flesh so you need not compromise on it's flavor. I've used mao shan wang.
- 300 grams was the approximate weight of my de-seeded durian flesh. Give a quick blitz of the flesh in a blender, keeping some durian texture. This weight was approximately a full box of mao shan wang. But it's ok to have more of this filling than not having enough.
- 1 or 2 tbsp of dairy cream to be mixed well into the blended durian. While this is completely optional, Kenneth mentioned in his post that the durian cream will darken over time and may not be an appealing color when served. So adding some cream reduces that possibility. I didn't want to take the chance.
- Keep it chilled.

Preparation of choux pastry (yields approx.40-50 pcs)


- Pre heat oven at 200 deg celcius
- 4 eggs
- 125 grams unsalted butter
- 125 grams plain flour
- 250 grams water

Method :
- In a sauce pan on medium fire, melt the butter with water.
- Remove the sauce pan from fire and add in the sifted flour. Mix well.
- Place the sauce pan back on the fire and continue to mix till the dough leaves the sides of the pan and forms a ball.
- Place the dough into a whisking bowl to cool down. I've spread the dough apart to speed up the cooling process. This took less than a minute.
- Add in the eggs, one at a time into the dough and whisk well. Do the same for the rest of the eggs.
- If the mix feels runny, continue to whisk till thicken.
- If you have a piping bag, transfer the mixture into it. I had to improvise since I don't have one. I used a clean ziplock bag and cut the tip of the bag to pipe about 2cm dough onto the baking tray. Leave a reasonable gap in between for expansion.


- Bake at 200 deg celcius for 10-15 minutes and reduce it to 175 deg celcius for another 10 minutes until it has turned golden. Oven to oven temperature may also vary so do keep an eye.
- Avoid opening the oven door during the entire process as the puffs may deflate.
 - Once it's ready, take the tray out and then use a toothpick to poke 2 small holes on the side of the choux pastry. This allows the trapped moisture to escape. *This is an important step.*
 - Transfer the choux pastries to wire rack for complete cooling. This doesn't take very long.


- You will know that your choux pastry is successful when the insides are hollow.


  Complete the durian puffs and eat them!

- Prepare to slice the puffs into halves and fill them up with dollops of durian filling.
- Keep it chilled in the fridge till ready to serve. Best eaten on the day itself.
- Enjoy!


Till the next post, have a blessed week!

Tuesday, June 17, 2014

Food Photography Tips

I'm not a professional food photographer, but I have ambitions to better myself with food photography. Simply because I love the challenge to capture good-looking food or better yet, capture simple food pictures to warm a person's soul. As I also share home cooked recipes in my blog from time to time or when I am served with nicely plated food when I am eating out, I would like to share what I see on my plate to the world (meaning my FB contacts and instagram followers) through photos so that they can savor the moment with me, even though they are not there physically to enjoy it.

I have been quite lazy to bring my Olympus Pen around so I would usually use my iphone4 to capture foodie moments, unless it is an official food review that I go to. To me, the key is not so much the camera, but more so the lighting and composition in a photograph that matters. If you get your "wow!", "You are making me hungry!" and "I want to eat this NOW!" comments on your pictures, you know your point is made!

So I attended a food photography workshop recently by a local renowned foodie doctor, Leslie Tay, who blogs at I Eat.I Shoot.I Post. There were a handful of points that was shared during the workshop but only 3 simple points really struck me, which I would like to share in this post and perhaps my readers can take even better food pictures from now on!

POINT OF INTEREST
Consider the main point of interest in the dish and zoom in on the part that will stand out in your photo, to convey the scrumptiousness of that dish. Food may not be an easy subject to take photo of so we must consider capturing the best angle, to make an impact with your viewers, as though they can eat it right off from your screen.


LIGHTING
Natural lighting is best when taking food pictures and no flash please! Taking food pictures under fluorescent light or darkly lit restaurants, often leaves your picture in yellow tone thus, may not be palatable to the eyes. If you are facing that challenge, have your family or friend to use the mobile phone's torchlight source to shine on the sides of the plate for enhanced lighting. Never shine the light from top down as it will be too harsh and creates terrible shadows.


COMPOSITION
Perhaps one of the most important points, making the dish look absolutely delish - with or without supporting objects around it. That's what restaurant menus with pictures do, to woo you by the sight of their food styling. If you happen to be taking photo of our local hawker food, consider doing a little bit of styling to bring out the best of that dish in your photos.


Of course, with all that's said, some editing to the photos must also be done, to bring out the best of your pictures.Basic adjustments would be the brightness level and enhancement of colors. These are part of the extra work you have to do to make your photo look even better. Now, this is something I'm never lazy about. 

I hope you've picked up useful tips in my post today.


Note : The above photos were taken using my Olympus Pen EP1 at A for Arbite.

Till the next post, have a blessed week!

AddThis

Related Posts Plugin for WordPress, Blogger...

.