
 Food Photography Tips
I'm not a professional food photographer, but I have ambitions to better myself with food photography. Simply because I love the challenge to capture good-looking food or better yet, capture simple food pictures to warm a person's soul. As I also share home cooked recipes in my blog from time to time or when I am served with nicely plated food when I am eating out, I would like to share what I see on my plate to the world (meaning my FB contacts and instagram followers) through photos so that they can savor the moment with me, even though they are not there physically to enjoy it.
I have been quite lazy to bring my Olympus Pen around so I would usually use my iphone4 to capture foodie moments, unless it is an official food review that I go to. To me, the key is not so much the camera, but more so the lighting and composition in a photograph that matters. If you get your "wow!", "You are making me hungry!" and "I want to eat this NOW!" comments on your pictures, you know your point is made!
So I attended a food photography workshop recently by a local renowned foodie doctor, Leslie Tay, who blogs at I Eat.I Shoot.I Post. There were a handful of points that was shared during the workshop but only 3 simple points really struck me, which I would like to share in this post and perhaps my readers can take even better food pictures from now on!
POINT OF INTEREST
Consider the main point of interest in the dish and zoom in on the part that will stand out in your photo, to convey the scrumptiousness of that dish. Food may not be an easy subject to take photo of so we must consider capturing the best angle, to make an impact with your viewers, as though they can eat it right off from your screen.

LIGHTING
Natural lighting is best when taking food pictures and no flash please! Taking food pictures under fluorescent light or darkly lit restaurants, often leaves your picture in yellow tone thus, may not be palatable to the eyes. If you are facing that challenge, have your family or friend to use the mobile phone's torchlight source to shine on the sides of the plate for enhanced lighting. Never shine the light from top down as it will be too harsh and creates terrible shadows.
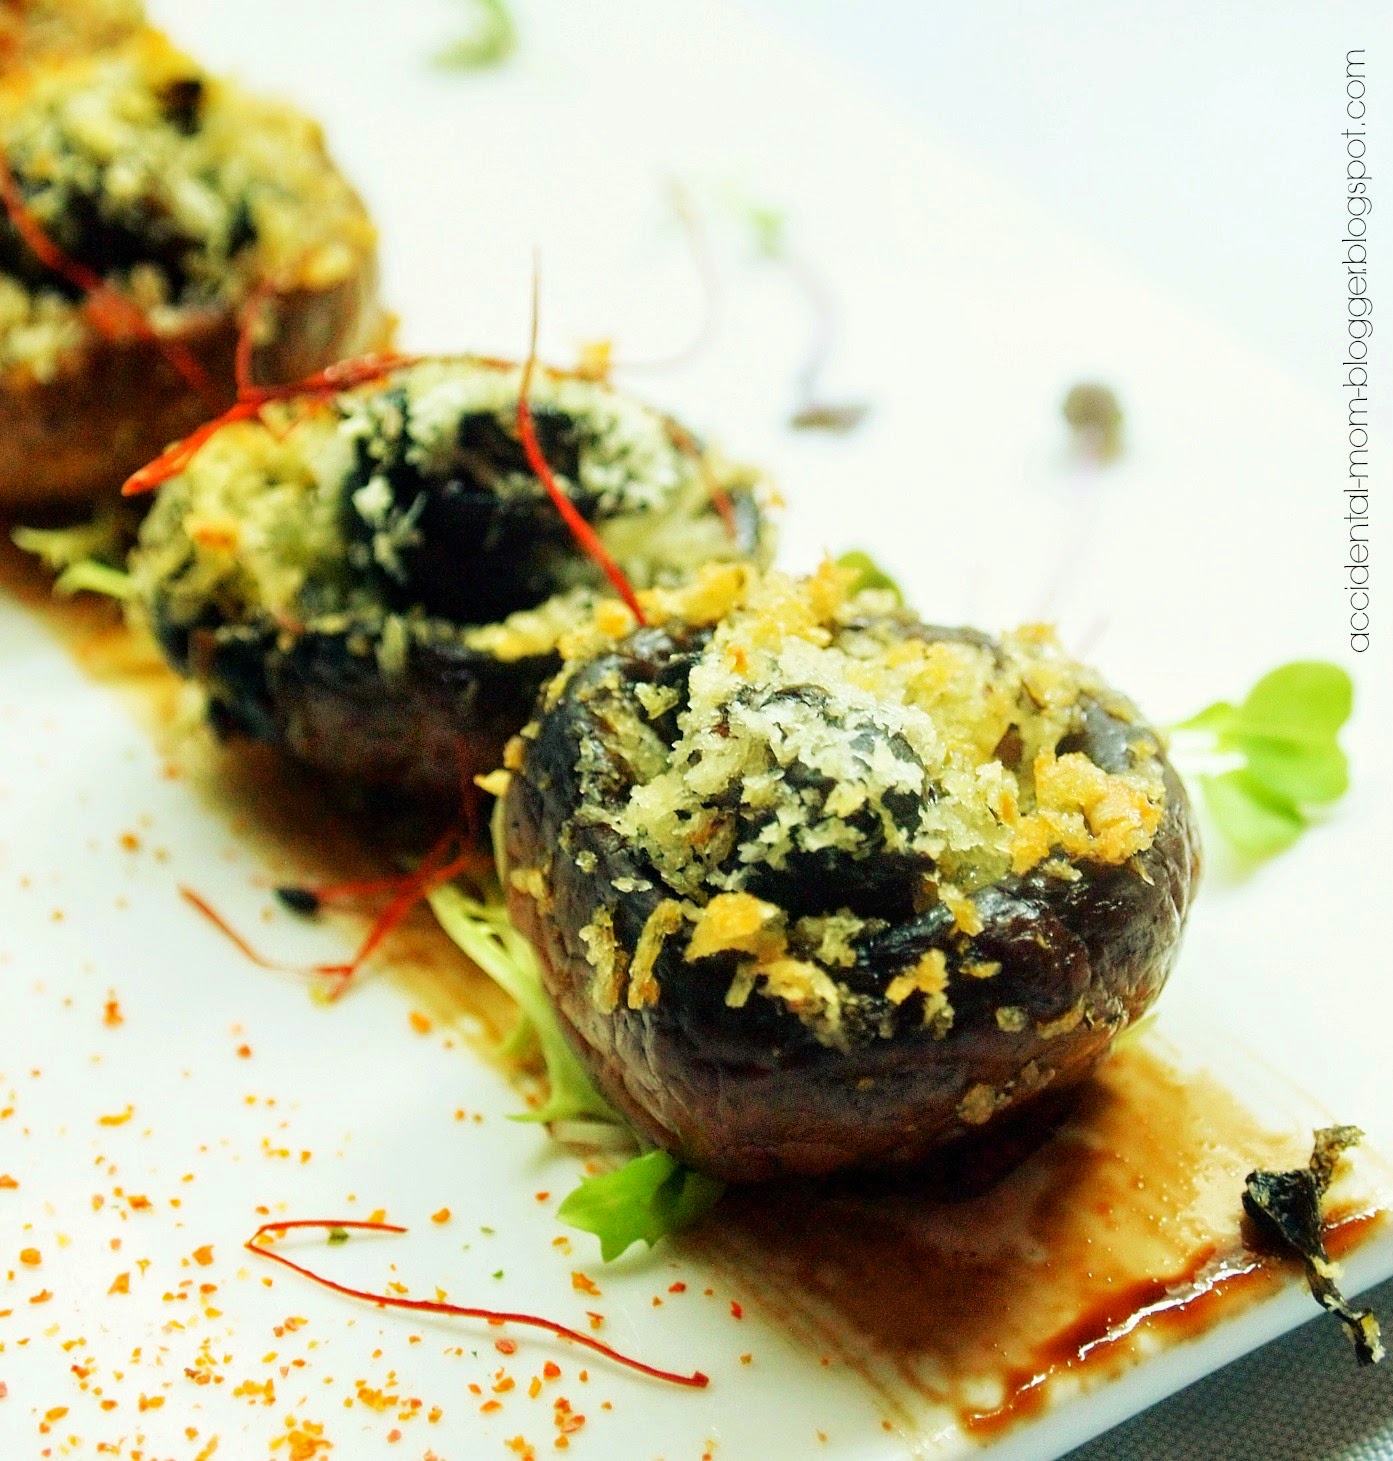
COMPOSITION
Perhaps one of the most important points, making the dish look absolutely delish - with or without supporting objects around it. That's what restaurant menus with pictures do, to woo you by the sight of their food styling. If you happen to be taking photo of our local hawker food, consider doing a little bit of styling to bring out the best of that dish in your photos.

Of course, with all that's said, some editing to the photos must also be done, to bring out the best of your pictures.Basic adjustments would be the brightness level and enhancement of colors. These are part of the extra work you have to do to make your photo look even better. Now, this is something I'm never lazy about.
I hope you've picked up useful tips in my post today.
Note : The above photos were taken using my Olympus Pen EP1 at A for Arbite.


